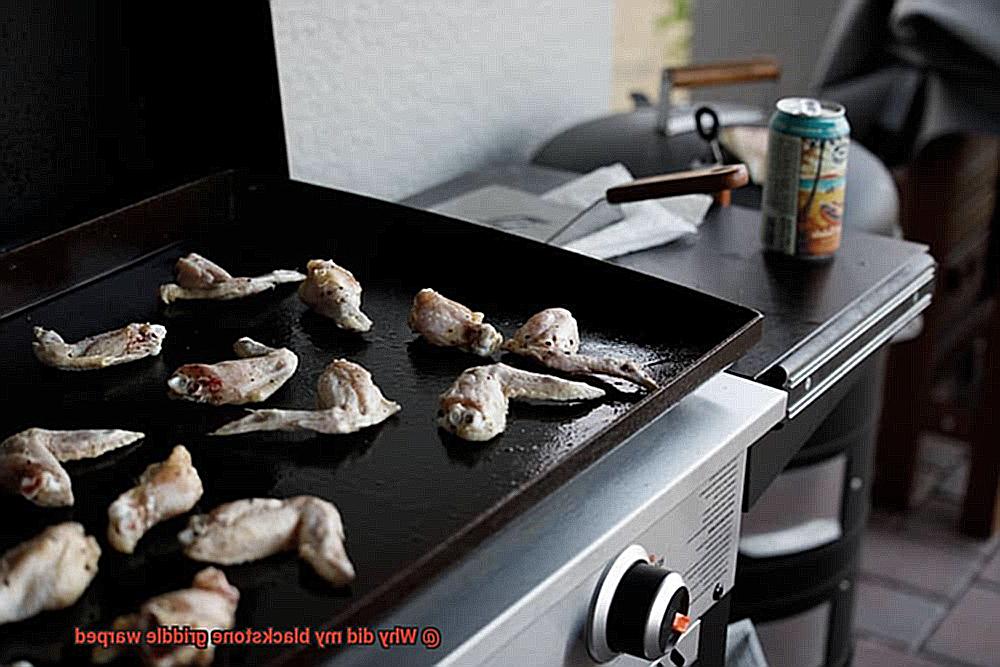
A sizzling steak, perfectly seared burgers, succulent grilled vegetables – cooking on a Blackstone griddle is an outdoor adventure that tantalizes taste buds. Unfortunately, when your trusty griddle starts to warp, disappointment can dampen the cooking fervor. But worry not, for this definitive guide will arm you with the knowledge and techniques to revive your griddle and reignite the flames of your culinary escapades.

Image: www.pastimebarandgrill.com
Understanding the Culprit: Causes of Warping in Blackstone Griddles
Ever wondered why your once-flat griddle has taken on an uncanny curved shape? The answer lies in the intricate interplay of heat, uneven expansion, and material properties. When a griddle is subjected to intense heat, the metal components expand unevenly, leading to a distortion in the flat surface. This warping can be further exacerbated by abrupt temperature changes, such as pouring cold liquid onto a scorching hot griddle.
Step-by-Step Restoration: Repairing Your Warped Blackstone Griddle
Now that we’ve delved into the science behind warping, let’s embark on the practical journey of restoring your beloved griddle. Fear not, for the process is surprisingly straightforward, and with a little elbow grease and our expert guidance, your griddle will soon be ready to reclaim its culinary glory.
1. Set the Stage for Success
Before you unleash your repair prowess, gather the essential tools: a large wrench, a sturdy hammer, a metal rod or pipe, a heat-resistant mat, and safety gloves. Clear a spacious and well-ventilated area to prevent harm to yourself or your surroundings.
2. Exerting Force: The Hammer and Wrench Technique
Don the safety gloves and place the griddle on a heat-resistant mat. Identify the warped section and position the griddle so that the distorted area is facing upwards. Using the wrench, gently loosen the bolts securing the griddle to its frame.
Now comes the critical step: wielding the hammer. Take the metal rod or pipe and place it across the warped area. Striking the rod or pipe with the hammer, apply firm and controlled force. Use even blows, ensuring you don’t damage the griddle further. Gradually work your way across the warped section, applying pressure until the griddle starts to flatten.
3. Fine-Tuning: The Cross-Member Adjustment
Once the major warping has been addressed, pay attention to any remaining high spots or unevenness. To correct these imperfections, loosen the bolts on the cross-members (the supports underneath the griddle) and adjust them accordingly. Use a level to ensure the griddle is perfectly flat.
4. The Final Touch: Tightening and Reassembly
With the griddle leveled, re-tighten all the bolts securely, ensuring a sturdy and stable cooking surface. Flip the griddle upright, and you’re all set to witness the resurrection of your culinary comrade.
Prevention is Key: Tips to Avoid Griddle Deformation
While repairs can restore your griddle, prevention is always the wisest course of action. Here are a few sage pieces of advice to keep your griddle pristine and warp-free:
-
Gradual Heating: Give your griddle time to warm up gradually. Avoid sudden temperature fluctuations by preheating it on low heat before cranking up the intensity.
-
Even Heat Distribution: Ensure uniform heat distribution by using the entire cooking surface. Avoid concentrating heat in a single spot, as this can lead to localized warping.
-
Cooling Down Technique: When it’s time to cool down the griddle, turn off the heat and let it cool naturally. Avoid pouring cold liquid or ice on the hot surface, as this drastic temperature change can cause warping.
-
Proper Cleaning: Regular cleaning not only enhances the longevity of your griddle but also helps prevent warping. Scrape off any food residue after cooking and use a griddle cleaner to remove stubborn grease or debris.
-
Level Placement: Ensure your griddle is placed on a flat and level surface. Uneven support can cause the griddle to flex and warp over time.

Image: thrillinggrilling.com
How To Fix A Warped Blackstone Griddle
Conclusion
Mastering the art of fixing a warped Blackstone griddle is a satisfying accomplishment, empowering you to revive your culinary companion and salvage your grilling adventures. By following the comprehensive steps outlined in this guide, you’ve not only restored your griddle to its former glory but also gained invaluable knowledge to prevent future warping.
Embrace these tips and techniques, and your Blackstone griddle will continue to serve as a loyal ally in your outdoor cooking endeavors. Happy grilling!


