Introduction
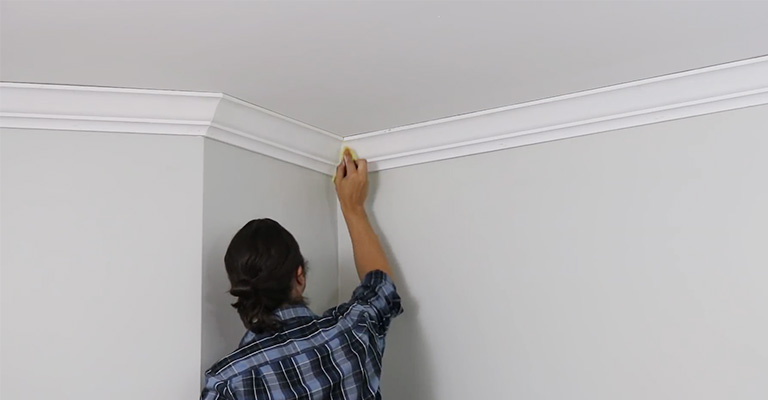
Crown molding adds beauty and value to any room in your house, but what happens if it becomes damaged? Don’t worry; you don’t have to replace the entire molding if it cracks. With the proper tools and techniques, you can fix it yourself in just a few simple steps.
Cracked Crown Molding: An Overview
Crown molding is usually made of wood or MDF (medium-density fiberboard), which can crack over time due to various reasons such as movement of the house, humidity changes, or accidental impact. Cracks can range from small hairline cracks to more significant splits that compromise the aesthetic appeal and potentially the integrity of your molding.
Fixing Cracked Crown Molding
To fix cracked crown molding, gather the following necessary materials: wood filler, putty knife, sandpaper, wood glue, clamps, and a caulk gun. Follow these detailed steps for a successful repair:
-
Clean the Crack: Remove any dirt or debris from the crack using a damp cloth. Allow the surface to dry completely.

Image: www.gofulldiy.com -
Apply Wood Filler: Squeeze wood filler generously into the crack using a putty knife. Press the filler firmly into the crack, ensuring it penetrates deeply. Remove excess filler with the putty knife.
-
Smooth the Filler: Allow the wood filler to slightly dry, then use fine-grit sandpaper to smooth the surface. Sand until the filled area is flush with the surrounding molding.
-
Reinforce the Crack (Optional): If the crack is significant or runs along a joint, reinforce it with wood glue. Apply glue along the crack and join the two sections. Clamp the pieces together to strengthen the bond.
-
Caulk the Gap: If the crack is deep or has gaps, seal it with caulk using a caulk gun. Apply the caulk along the crack and smooth it with a finger or damp cloth.
-
Sand and Paint: Once fully dry, lightly sand the repaired area for a smooth finish. If necessary, touch up the paint to match the surrounding molding.
Expert Tips and Advice
– For deeper cracks, you may need to use a wood chisel to widen the crack and create a space for the filler.
-
If the crack is caused by movement of the house, it’s advisable to identify and address the underlying issue before repairing the molding.
-
To prevent future cracks, ensure proper humidity levels in your home by using a humidifier or dehumidifier as needed.
-
Avoid using too much wood filler, as it can shrink and create an uneven surface.
-
Always follow the manufacturer’s instructions for the wood filler and caulk you are using.
FAQs
Q: How do I know if my crown molding needs to be repaired?
A: Cracks, splits, or loose joints indicate that your crown molding needs attention.
Q: What causes crown molding to crack?
A: Common causes include house movement, humidity changes, impact, and shrinkage/expansion of the wood.
Q: Can I use wood glue alone to fix cracks in crown molding?
A: While wood glue can strengthen the bond, it’s not sufficient for filling cracks on its own. Use wood filler in combination with wood glue for a durable repair.
Q: How can I prevent cracks from reappearing?
A: Address underlying issues, maintain proper humidity levels, and avoid excessive stress on the crown molding.

Image: www.pinterest.com
How To Fix Cracked Crown Molding
Conclusion
Cracked crown molding can be unsightly and compromise the integrity of your home’s aesthetics. By following our comprehensive guide and expert advice, you can fix these cracks effectively and restore your crown molding to its former glory. Don’t hesitate to ask questions in the comment section below if you have any queries. We’d be delighted to assist you further on your home improvement journey.


