
The moment your curtain rod treacherously yanks from the wall, leaving an unsightly void, can elicit a pang of frustration. This seemingly harmless incident can mar the aesthetic of your abode, leaving you with a nagging hole in the drywall and a deflated sense of accomplishment. But fret not, dear reader, for this comprehensive guide will equip you with the knowledge and confidence to restore your curtain rod to its former glory and seal the wound in your wall.
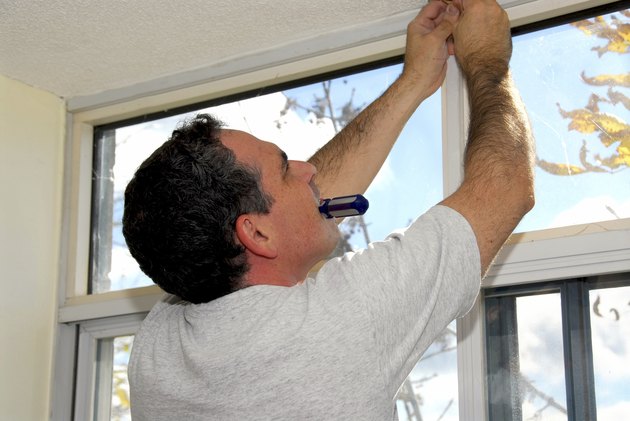
Image: www.hunker.com
Before we embark on this restorative journey, it’s imperative to understand the anatomy of a curtain rod and the forces that act upon it. Typically, a curtain rod is supported by brackets, which are anchored to the wall using screws. When excessive weight or force is applied to the rod, the screws can pull out of the drywall, causing the rod to descend unceremoniously.
Remedial Measures: A Step-by-Step Guide
With a firm grasp of the mechanics, let’s delve into the practical steps of repairing this household mishap:
Assessing the Damage
The first step is to assess the extent of the damage. Inspect the hole left by the screws to determine if the drywall is significantly compromised. If the hole is small and clean, you’re in luck. However, if the drywall is severely damaged or has begun to crumble, it may require more extensive repairs.
Locating Studs
To ensure a solid foundation for your repaired curtain rod, it’s crucial to locate the studs in the wall. These vertical supports provide additional strength and stability to the screws. Use a stud finder to pinpoint the studs behind the drywall. If you don’t have a stud finder, tap on the wall with a hammer. A solid sound indicates the presence of a stud, while a hollow sound suggests an empty space.

Image: www.cintronbeveragegroup.com
Preparing the Hole
Once the studs are located, prepare the hole for the new screws. If the existing hole is small, use a toothpick or a thin dowel to remove any debris or dust. If the hole is larger, you may need to use a drill to widen it slightly. Ensure that the hole is slightly larger than the screw you intend to use.
Installing the Screws
Now comes the crucial step of installing the screws. Choose screws that are at least 2 inches long and specifically designed for drywall. Drive the screws into the studs or into the drywall anchors, depending on the severity of the damage. Ensure that the screws are securely tightened, but avoid overtightening, as this can damage the drywall.
Reattaching the Curtain Rod
With the screws firmly in place, it’s time to reattach the curtain rod. Align the rod with the brackets and gently slide it into place. Tighten the set screws on the brackets to secure the rod against the wall. Make sure the rod is level and sturdy.
Finishing Touches
To conceal any remaining imperfections, dab a small amount of spackling paste or white caulk into the screw holes. Smooth out the paste using a putty knife or your finger. Allow the spackling to dry completely, then sand the area lightly to blend it seamlessly with the surrounding wall.
Expert Insights and Proactive Tips
To further enhance your curtain rod repair prowess, consider these valuable insights from experienced handymen and home improvement enthusiasts:
Choosing the Right Curtain Rod
Not all curtain rods are created equal. When selecting a rod, consider the weight of your curtains and the distance between the studs in your wall. A lightweight rod with small brackets may suffice for sheer curtains, while heavier curtains require a more robust rod with larger brackets.
Using Drywall Anchors
If the drywall in your home is particularly soft or damaged, using drywall anchors can provide extra support for your curtain rod. Drywall anchors are small plastic or metal inserts that expand when a screw is driven into them, creating a more secure hold in the drywall.
Reinforcing the Rod
If you’re concerned about the curtain rod pulling out of the wall again, you can reinforce it by adding additional support. Install L-brackets or angle brackets underneath the rod to provide extra stability, especially for heavy curtains.
How To Fix Curtain Rod Pulled Out Of Wall
Conclusion: A Sense of Triumph and a Shimmering Curtain
By following these steps and incorporating the expert tips provided, you’ll be able to repair your curtain rod with confidence and restore harmony to your wall. Remember, tackling home repairs can be a rewarding experience, empowering you with a sense of accomplishment and the knowledge that you’ve conquered another household challenge. So, embrace the DIY spirit, grab your tools, and let the shimmering curtains once again grace your windows, a testament to your resilience and newfound repair prowess.


