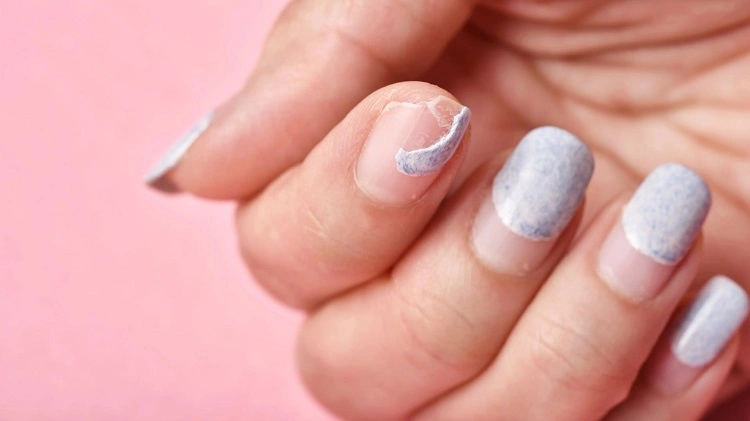
Gel polish, the shimmering savior of manicures, can often meet an untimely demise with a relentless chip or peel. But fret not, fellow beauty enthusiasts! This article has you covered with a comprehensive guide to restoring your gel polish to its former glory, and keep it rocking chip-free.

Image: deavita.net
Like a stubborn stain on a pristine outfit, a chipped gel polish can put a damper on your otherwise impeccable manicure. But before your frustration boils over, take a deep breath and know that this fix is within reach.
Taking inspiration from the resilience of the mighty sunflower, which stands tall even after its petals are damaged, we will embark on a restorative journey for your chipped gel polish.
Mastering the Art of Gel Restoration
Armed with the right tools and a steady hand, you can wave goodbye to chipped gel polish. Follow these simple steps to bring back the flawless finish of your manicure:
Buff, Buff, Buff
Picture this: A sculptor meticulously chiseling away at a block of marble. In the same spirit, use a fine-grit buffer or nail file to gently buff the chipped area. Focus on smoothing out the edges of the chip to create a seamless transition.
Cleanse and Declutter
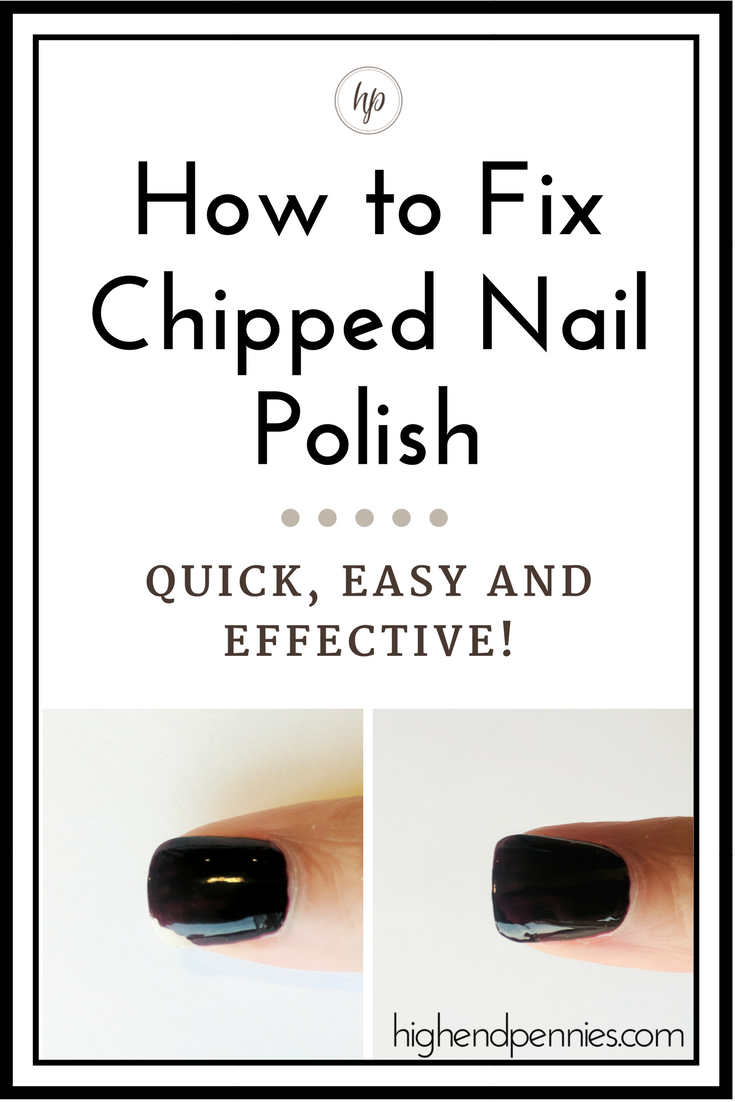
As you buff, tiny particles accumulate on your nail. Use a nail brush or a cotton ball dipped in rubbing alcohol to sweep away these debris and ensure a clean surface for the next steps.

Image: highendpennies.com
Paint Me Happy
With your nail prepped, it’s time for a touch-up! Apply a thin coat of matching gel polish over the chipped area, taking care to cover the edges properly. Cure this layer under the lamp as usual.
Repeat for Perfection
Depending on the size of the chip, you may need to repeat the painting and curing process several times. Aim for thin, even layers to avoid any bumps or unevenness.
Seal the Deal
Once you’re satisfied with the coverage, apply a final coat of top coat and cure it. This layer will seal in the repairs and add a glossy finish, leaving your manicure looking as good as new.
Tips and Tricks: Master of Gel Manicures
To become a true gel polish pro, consider these expert tips:
- Use a fine-grit buffer or nail file to avoid damaging the surrounding gel polish.
- Apply thin layers of gel polish and cure each layer fully to prevent lifting and chipping.
- Invest in a UV/LED lamp with sufficient wattage to ensure proper curing.
- Avoid picking or peeling at the chipped area, as this can further damage the polish.
- Protect your manicure by wearing gloves when doing manual work or household chores.
Frequently Asked Questions: The Gel Polish Quandary
Let’s tackle some common questions that may arise:
Q: Can I use regular nail polish to fix a chipped gel polish?
A. No. Gel polish requires a special UV/LED lamp to cure and cannot be repaired with regular nail polish.
Q: Why did my gel polish chip in the first place?
A. Possible reasons include improper preparation, using low-quality products, or external factors like impact or exposure to harsh chemicals.
Q: How can I prevent future chipping?
A. Proper nail preparation, quality products, and protective measures like gloves can help minimize the risk of chipping.
How To Fix Chipped Gel Polish
https://youtube.com/watch?v=Qoif8mrKNns
Conclusion: A Chip-Free Future
With these techniques and tips in your arsenal, you have the power to transform your gel polish calamities into flawless masterpieces. Remember, a chip does not have to define your manicure; it’s an opportunity to showcase your repair skills and keep your nails looking fabulous.
Are you ready to experience the joy of a chip-free manicure? Let us know in the comments below, and happy polishing!


