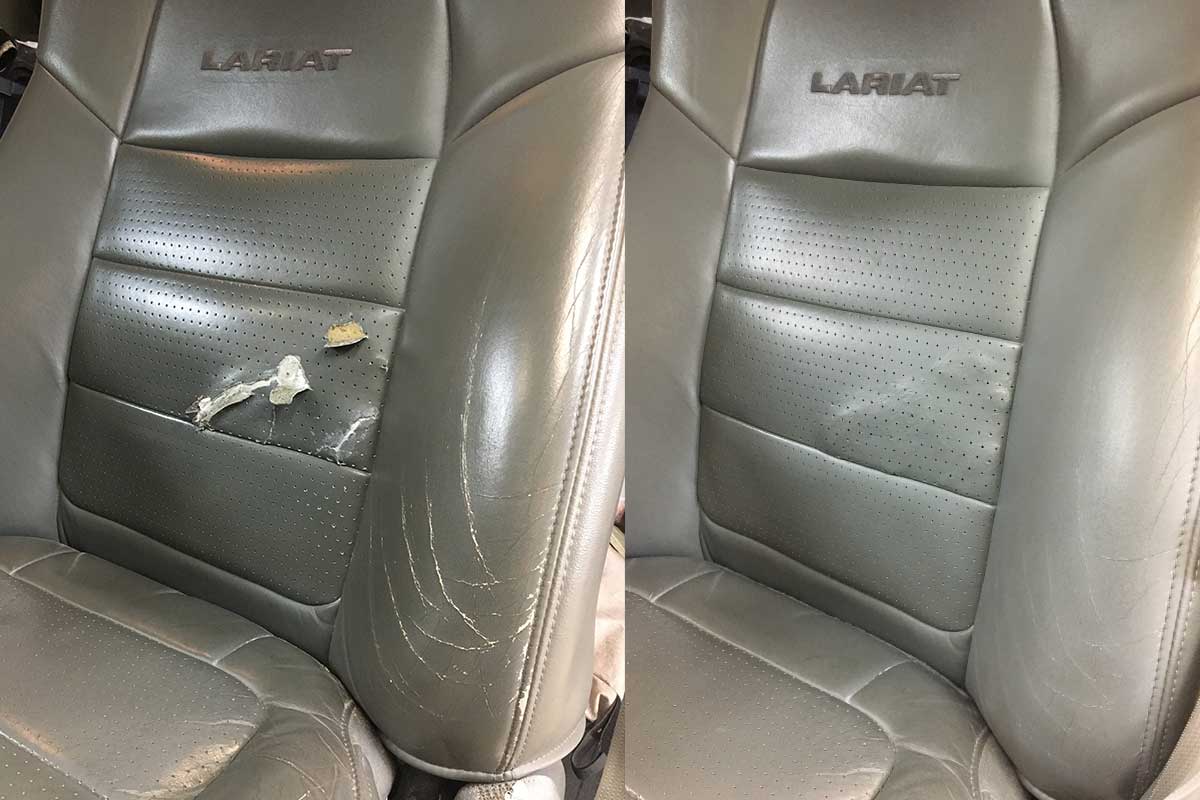
Picture this: you’re cruising down the highway, windows rolled down, music blaring, when suddenly, you notice a jagged tear in your beloved vinyl car seat. It’s like a punch to the gut, a blemish on your otherwise pristine interior. Fear not, fellow automotive enthusiasts, for in this comprehensive guide, we’ll delHow to Mend the Wounds: A Comprehensive Guide to Repairing Vinyl Tears

Image: tilamuski.github.io
Picture this: you’re cruising down the highway, windows rolled down, music blaring, when suddenly, you notice a jagged tear in your beloved vinyl car seat. It’s like a punch to the gut, a blemish on your otherwise pristine interior. Fear not, fellow automotive enthusiasts, for in this comprehensive guide, we’ll delve into the art of repairing vinyl tears, restoring your vehicle’s interior to its former glory.
Step 1: Assess the Damage
Before embarking on the repair, it’s crucial to assess the extent of the damage. Determine whether the tear is superficial or penetrates through the material. This will dictate the repair technique required.
Step 2: Gather Your Materials
To successfully mend vinyl tears, you’ll need the following materials:
- Vinyl repair kit (specifically designed for vinyl fabrics)
- Scissors
- Tweezers
- Clean cloth
- Hair dryer or heat gun
- Patience and a steady hand
Step 3: Clean and Prepare the Area
Using a damp cloth, gently clean the area around the tear to remove any dirt or debris. Let it dry completely before proceeding.
Step 4: Choose the Repair Solution
Vinyl repair kits come with a variety of materials designed to address different types of tears. If the tear is small and superficial, a patch or liquid solution may suffice. For larger or deeper tears, a heat-activated bonding agent or adhesive may be necessary.
Step 5: Apply the Repair Solution
- Patches: Cut a patch slightly larger than the tear and position it over the damaged area. Apply gentle pressure to adhere it.
- Liquid solution: Carefully apply the solution to the edges of the tear using a fine-tipped brush or a syringe. Allow it to dry completely.
- Bonding agent or adhesive: Apply a thin layer of the solution around the edges of the tear. Place a piece of wax paper or parchment paper over the repair and use a hair dryer or heat gun to activate the adhesive. Press the edges together and hold for several minutes.
Step 6: Finish and Protect
Once the repair adhesive has dried, you can protect the area with a layer of vinyl protectant. This will help prevent the repair from fading or peeling.
Step 7: Inspect and Enjoy
After the repair has dried completely, inspect it closely to ensure it’s secure and aesthetically pleasing. Now, sit back, admire your handiwork, and enjoy the renewed beauty of your vinyl interior.
Tips for Success
- Work in a well-ventilated area, as some repair materials may emit fumes.
- Practice on a scrap piece of vinyl first if you’re unfamiliar with the repair technique.
- Allow ample time for the repair to dry and cure properly.
- If the tear is large or complex, consider seeking professional assistance.
Conclusion
With a little patience and the guidance provided in this guide, you can successfully repair vinyl tears and restore your car’s interior to its original condition. Remember, a mended vinyl surface is not just about aesthetics but also about preserving the value and functionality of your vehicle. Happy repairing!

Image: classiccarwalls.blogspot.com
How To Fix A Tear In Vinyl Seats


