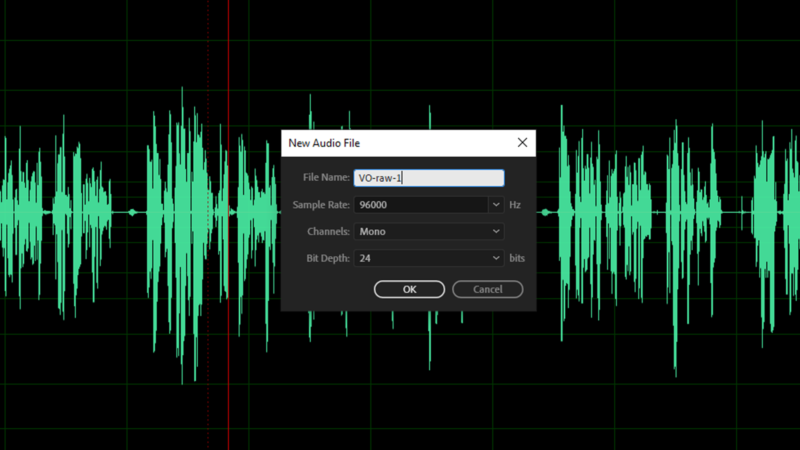
As a content creator, you know that audio quality is paramount. Nothing can kill the mood or immersion faster than distracting audio issues. One of the most common problems that can plague audio recordings is peaking, which occurs when the audio signal exceeds 0dB, resulting in a distorted and unpleasant sound. If you’re using Adobe Audition, fear not, because in this comprehensive guide, we’ll delve into the hows and whys of peaking audio and equip you with the know-how to fix it like a pro. Get ready to elevate your audio game and create crystal-clear recordings that will captivate your audience.

Image: www.youtube.com
Understanding Audio Peaks: A Journey Into The Red Zone
To grasp peaking, let’s take a step back and understand how digital audio works. Audio signals are captured as a series of digital samples, and each sample represents the amplitude (loudness) of the sound at a specific moment. When you record audio, these samples are stored as a waveform in your DAW, and they resemble a graph of the sound over time. The horizontal axis represents time, while the vertical axis represents amplitude, or loudness.
In the digital realm, the maximum possible amplitude is 0dB. When your audio waveform hits 0dB, it means that your audio signal has reached its peak. If you push your audio beyond this point, it enters the “red zone,” and that’s when peaking occurs. This unwanted guest brings along a whole slew of problems, including distortion, clipping, and compromised audio quality.
Fixing Peaking In Audition: A Three-Pronged Approach
-
The Gain Game: Attenuating The Signal
The first step in tackling peaking is to reduce the overall gain of your audio. Gain refers to the level or volume of your audio signal, and lowering it can effectively bring down those pesky peaks below the 0dB threshold. In Audition, you can adjust the gain using the Gain or Amplitude sliders in the Effects Rack.
-

Image: blog.frame.ioCompression: Squeezing The Dynamics
Compression is a powerful tool for managing audio dynamics, and it can be äußerst effective in taming peaks. This technique essentially reduces the difference between the loudest and quietest parts of your audio, making it more consistent. Audition offers a range of compressors, including the Dynamics Processing and Multiband Compressor effects, so you can choose the one that best suits your audio material.
-
Hard Limiting: Drawing The Line At 0dB
As a last line of defense against peaking, you can employ hard limiting. Unlike compression, which subtly reduces gain, a hard limiter acts like a brick wall at 0dB, preventing your audio from exceeding this level. This can be particularly useful for preventing clipping and ensuring that your audio meets broadcast standards or streaming platform requirements. Audition’s Hard Limiter effect will get the job done efficiently.
How To Fix Peaking Audio In Audition
Conclusion: Mastering The Peaks And Valleys Of Audio
Fixing peaking audio in Audition is not rocket science, but it does require a keen ear and a few trusty tools. By following the steps outlined above, you can conquer those audio peaks, prevent unwanted distortion, and achieve pristine audio quality. Whether you’re recording podcasts, creating music, or producing videos, mastering your audio is essential for engaging and impactful content. So, the next time your audio starts peaking, don’t panic. Dive into Audition, apply the techniques we’ve discussed, and transform those unruly peaks into smooth, dynamic audio bliss.


